Visualizzazione post con etichetta nail art. Mostra tutti i post

11/04/13

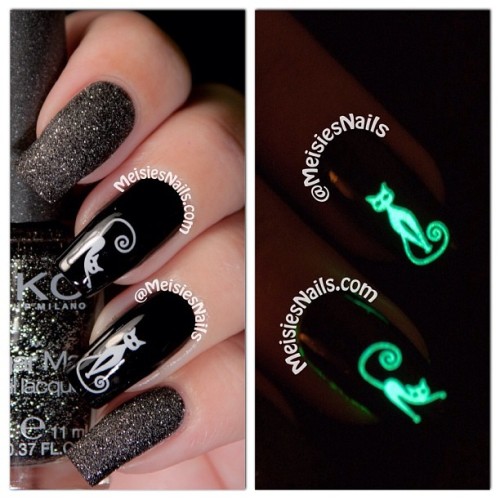
Nail Art || Time spent with cats is never wasted


I want to finish this week showing you the new nail art I have realized.
This monday I have an exam, so I won't publish anything before this day.

I had been inspired by cats...and I love the result, it is so cute!


If you like this nail art (and if you like animals too) stay tuned and watch the tutorial over here!
It is easy to realize even if it doesn't seem so, and you don't need some particular tools. Use a bobby pin as a dotting tool to do the details.
Let's go!


1. Start using a base coat and a light nail polish, for example the base you can use for the french manicure.
2. Let's draw the cats' faces. At first do a line in the tip of your nails, and then draw their ears (just draw two little tringles)
3. Start to add the details. With the dotter draw the nose and the ears, as in the photo, with a light pink nail polish.
4. Now it is the time for the eyes. Start using a white nail polish.
5. With a black nail polish draw the pupil, the mouth and the whiskers.
6. Now it is the time for dotting! I have used a light pink nail polish and a silver glittered one, but you can use any other colors.
To finish, use a shiny top coat...<3 br="">
Let me know if you liked it just leaving a comment below!

Comment & Share..

And remember to follow me on bloglovin!

See you soon!

05/04/13

Nail art || Each flower is a soul blossoming out to nature.


Hi guys!
Finally spring is coming and flowers are growing...
So what can be better than a floral nail art?
I hope you like it!


1. Use a base coat to protect your nails and then use a light green nail polish.
2. On one of your nail do some dots with a light pink nail polish
3. Now you have to proceed as if you are doing a leopard nail art. Use a darker pink and drow two semicircle around the light pink dots.
4. Now with a darker green draw the leaves. Two for every flowers.
5. To finish the flower, draw a small dot with a lighter pink in the center of the flower.
6. On the other nails do some decorations! I have made two silver glittered lines, very classy and easy to do.
7. Use a shiny top coat.


What do you think about this nail art?
If you like it, COMMENT & SHARE!

See you soon!

28/03/13

Nail Art || Easter! Some bunnies love you.


Easter is near and I have prepeared a new nail art only for you!

Do you like it?
So see and share the tutorial below!


1. use a base coat to protect your nails and then apply a light pink nail polish.
2. With a makeup sponge realize a gradient nail. I have used a light green nail polish, but you can use every color you want (for example light blue).
3. Apply glitters.
4. On one of your nails start drawing a little bunny. Draw its face like and oval with a dotting tool, and then realize the ears.
5. Now, with a black nail polish and a pin draw its eyes, the nose and the whiskers.
6. In the end, apply a top coat.

This is the nail art finished.
Have a great easter!

See you soon.

15/03/13

Nail art || Dream Big


This time, for this nail art I have been inspired by this image that suggested me also the nail art's name : Dream Big.
And it is a suggestion that us all should follow.


Follow the steps below to realize it!
( click on the image to see it larger )


1. Use a base coat and a light pink base.
2. Do some dots with a peach nail color. If you don't have a dotter, use a pencil or a pin. Don't be precise and draw various dots' sizes.
3. Do some light blue dots.
4. Do some white dots.
5. Do some light green dots.
6. Do some purple dots.
7 - 8 . Into the other nails draw two lines as you can see in the picture.
9. Add a white swarowsky.
10. Use a shiny top coat.

The nail art is finished and I hope you like it!
Please make me know what you think with a comment!


06/03/13

Nail art || I believe in pink...and glitters of course!


I haven't been able to publish this for s. Valentine day, but I wanted you to see this nail art anyway.
I hope you like it and follow the steps below to reproduce it!


1. Start with a base coat and then use a light pink nail color.
2. Follow the design I have done, you have to create a "wave pattern" with a darker color and I have choseen a dark pink (more similar to purple).
3. Use silver glitters on the dark pink color.
4 - 5 . Do some dots ,as you can see in the picture, with dark and light pink. If you don't have a dotter, you can use a pencil.
6. Use top coat to finish the nail art.


See you soon!

10/12/12

Nail Art || Do you remember your first snow?

Since the holidays are approaching, I should make you see a nail art inspired by Christmas!
Usually when we think of Christmas, one of the first color that comes to mind is red. Well, I have thought of a nail art with the shades of blue and white, more reminiscent of the snow and the decorations a little 'less unconventional although they are becoming increasingly popular.


Dato che le feste si stanno avvicinando, non poteva mancare una nail art di ispirazione natalizia!
Di solito quando si pensa al natale, uno dei primi colori che viene in mente è il rosso. Ebbene, io invece ho pensato ad una nail art sui toni dell'azzurro e del bianco, che ricorda più la neve e gli addobbi un po' meno convenzionali anche se  sono sempre più diffusi.


1. used a base coat, I suggest you always use good products to ensure the health of your nails.
2. Use a nail polish with mini white glitters to give light.
3. Now is the time of blue glitters. The more thecolor is more intense and the better it is! First of all, apply the nail polish only in half nail (from the center, more or less, to the tip). Wait for it to dry and use another coat, this time you have to stop first, about 2/3 of the area where you used the glittered polish before. Finally, a third coat, but only in the tip of the nail in order to intensify the glitters and so also the blue color.
4. Then take the nail polish with larger glitters, just a single coat in this case and do not need the top coat because this shiny enough!


The nail art is finished and as usual I hope you enjoy it! 
Also write what you think in the comments!


1. usate una base, vi consiglio sempre di usare dei prodotti validi per poter assicurare la salute delle vostre unghie.
2. Usate uno smalto con dei mini glitter di colore bianco per dare luce.
3. Ora è il momento dei glitter azzurri. Più il colore è intenso e meglio è! Prima di tutto applicate lo smalto fino a metà unghia. Aspettate che si asciughi e date di nuovo un'altra passata, questa volta dovrete fermarvi prima, circa a 2/3 dell'area in cui avete usato lo smalto brillantinato prima. Infine una terza passata, ma sono sulla punta dell'unghia in modo da intensificare i glitter.
4. Poi prendete lo smalto con i glitter più grandi, basta una sola passata in questo caso e non è necessario il top coat perchè questo lucida già abbastanza!


La nail art è finita e come al solito spero che vi piaccia! 
Scrivete pure quel che pensate nei commenti!

BYE!

30/10/12

When black cats prowl, Halloween is near.


Finally, tomorrow is Halloween.
Probably it is one of the most attended days of the year, both by childrens and teens.
I want to show you the nail art that I have created for this occasion.
It is not too elaborate or scary, but I have opted for a simple design, that everyone can realize.

Finalmente, domani è Halloween.
Probabilmente è una dei giorni dell'anno più attesi, sia dai bambini, sia dai ragazzi (chissà forse perchè vuol dire che il giorno dopo si sta a casa da scuola, eheh).
Voglio mostrarvi la nail art che ho realizzato per l'occasione.
Non aspettatevi nulla di elaborato, anzi, ho voluto fare qualcosa di semplice perchè in questo modo tutti possono realizzarla.


You need / Occorrono:
1. Base Coat.
2. A clear color, a light rose for example (you cannot use it).
3. A light green nail polish.
4. Orange glitter or sequins.
5. A black nail polish.
6. Top Coat.
7. A pin, a needle or a toothpick / Uno spillo, un ago o uno stuzzicadenti.

The first step is to apply base coat, then use the clear nail polish to give an uniform color to your nail. Than do a french nail art with the light green nail polish and then apply orange glitters as you can see in the picture.
To draw the cat is very very simple. At first do a little dot (it will be its head) and continue drawing his body. When you have finished, do its legs and its tail. If you want you can add a little text (I wrote "Miao"). Least, apply top coat and the nail art is finished.
I have used these colors because I think the rapresent Halloween: Green is for the monsters, orange for pumpkins and black for the cat that I draw.
I hope you like it! Tell me what you think with a comment!

Il primo passo è applicate la base e poi il colore rosino chiaro per uniformare il colore dell'unghia. Poi fate il french, usando il colore verde chiaro, successivamente applicate i glitter arancioni come vedete in foto. Per disegnare il gatto partite facendo un punto per la testa, dopodichè cominciate a disegnare il corpo. Finito questo, passate a completarlo, disegnando gambe e coda. Se volete potete aggiungere del testo (io ho scritto "Miao"). Infine, applicate il top coat e la nail art è finita!
Io ho usato questi colori perchè penso che rappresentino la festa di Halloween: il verde starebbe per i mostri, l'arancione per le zucche, mentre il nero per il gatto che ho anche disegnato.
Spero che la nail art vi piaccia e mi raccomando, scrivete il vostro parere nei commenti!

16/07/12

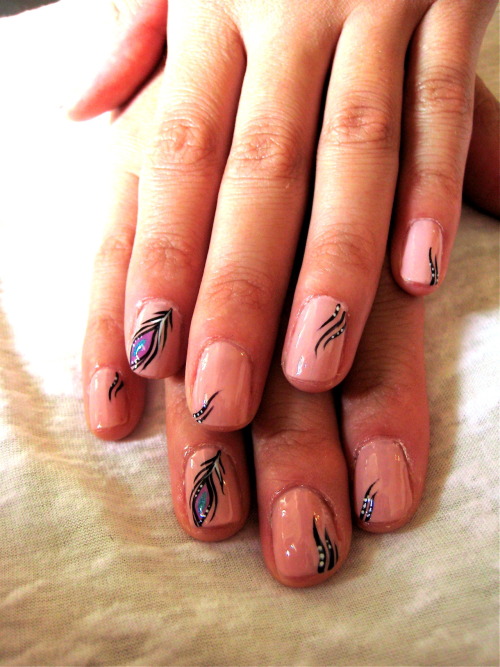
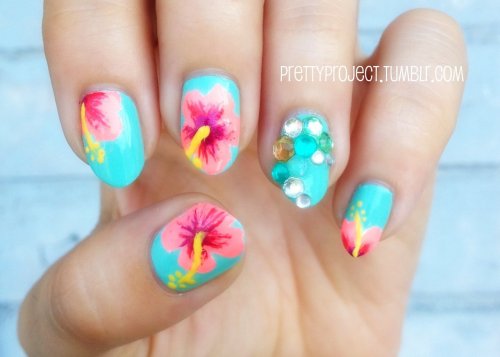
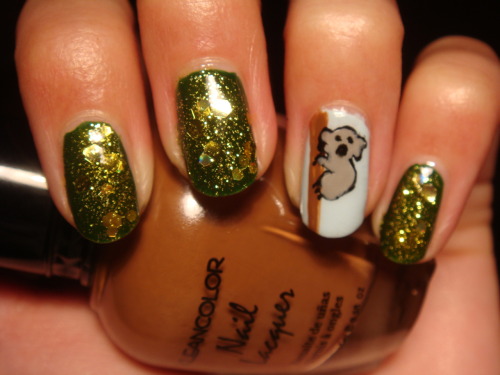
nail art inspiration #13

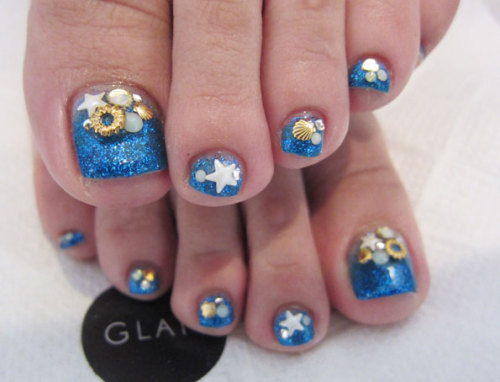
Let's begin the nail art inspiration with a toe nail art!
I think it is fabolous...


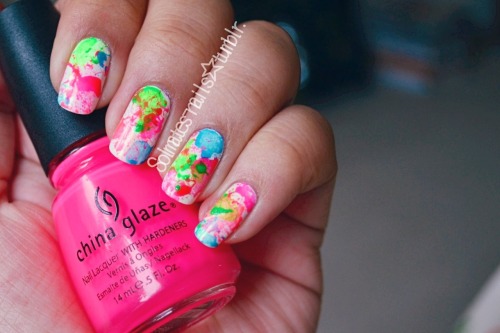
Then, here some nail arts for your hands!


Neon colors: perfect for this summer!

HERE